Are you yearning for healthy, lustrous locks that turn heads wherever you go? Look no further than the power of DIY hair masks! Treating your hair to natural, homemade remedies can be a game-changer when it comes to achieving your hair goals. Whether you’re aiming to nourish, repair, hydrate, or revitalize your hair, these do-it-yourself hair masks have got you covered. In this guide, we will explore 5 incredible DIY hair masks that will unlock the potential of your hair and leave it looking and feeling its absolute best. Get ready to embark on a journey of self-care, as we delve into the recipes, techniques, and benefits of these transformative hair masks. Say goodbye to dull and lifeless hair, and get ready to embrace the vibrant and radiant mane you’ve always dreamed of with these indulgent and effective DIY hair masks.
What does “DIY Hair Masks” mean?
What are DIY hair masks? DIY hair masks refer to a hair treatment that is created and applied at home using natural ingredients. It involves the process of making a hair mask from scratch, typically using common household items such as fruits, oils, herbs, or other nourishing substances. These homemade masks are designed to provide various benefits to the hair, including moisturizing, nourishing, strengthening, repairing, or addressing specific hair concerns.
The concept of a DIY hair mask revolves around the idea of customization and personalization. By making your own hair mask, you have the freedom to select ingredients that cater to your specific hair needs and preferences. Whether you’re looking to add moisture, enhance shine, reduce frizz, promote hair growth, or address scalp issues, DIY hair masks allow you to experiment with different combinations and formulations.
Creating a DIY hair mask involves gathering the desired ingredients, following a recipe or formulation, and blending them together to form a paste or mixture. The mask is then applied to the hair and scalp, ensuring thorough coverage from roots to ends. Depending on the recipe and desired results, the mask is left on for a specified duration, allowing the hair to absorb the beneficial properties of the ingredients. Finally, the mask is rinsed out, leaving behind the desired effects on the hair.
Many individuals prefer DIY hair masks due to their cost-effectiveness, accessibility of ingredients, and the ability to control what goes into the treatment. Additionally, using natural ingredients can provide peace of mind, as you are avoiding potentially harmful chemicals or additives found in commercial hair products.
Whether you’re seeking to revitalize dry and damaged hair, promote a healthier scalp, or simply indulge in a pampering self-care routine, DIY hair masks offer a customizable and enjoyable approach to hair care right in the comfort of your own home.
More: Hair care
5 DIY Hair Masks
Avocado, olive oil, honey
Avocado, olive oil, and honey are a fantastic combination known for their ability to enhance shine and provide hydration to the hair. To create this nourishing mask, follow these steps:
Ingredients
- 1½ avocados
- 2 tablespoons of olive oil
- 2 tablespoons of manuka honey
- Juice of ½ lemon
- 1-3 drops of optional essential oil for fragrance (if desired)
Directions
- Combine all the ingredients in a blender until you achieve a smooth mixture.
- Apply the mask evenly throughout your hair, ensuring complete coverage. You can use a comb or your fingers to distribute it.
- Cover your hair with a shower cap to create a sealed environment for the mask to work its magic. Leave it on for approximately 45 minutes.
- Rinse out the mask thoroughly using shampoo and conditioner as usual.
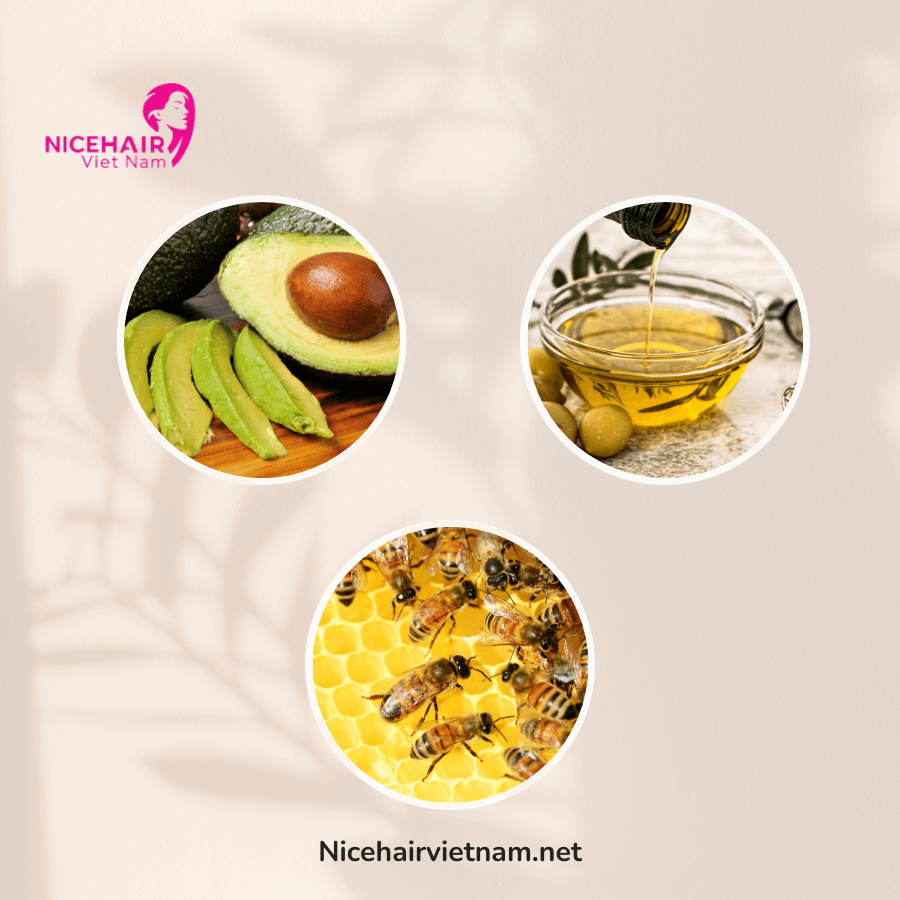
This mask is exceptional for revitalizing and rejuvenating your hair, leaving it healthy, glossy, and well-hydrated. The natural oils present in avocados aid in moisturizing and healing a dry scalp. They also serve as an effective detangler, ensuring easy combing without any tugging or knots. The added lemon contributes antibacterial properties, making it beneficial for those dealing with dandruff concerns.
Furthermore, olive oil acts as a protective barrier, safeguarding the hair from heat damage. Manuka honey, on the other hand, plays a vital role in providing deep hydration and enhancing shine. If you opt to include an essential oil, consider your specific hair goals. Tea tree oil is often utilized for its anti-dandruff properties, while peppermint oil can invigorate and promote scalp health. Remember, only a small amount of essential oil is necessary as it goes a long way.
In summary, this DIY hair mask offers a luxurious and moisturizing treatment that restores and nourishes your hair, leaving it healthy, shiny, and hydrated.
Coconut oil, avocado, egg, honey
A combination of coconut oil, avocado, egg, and honey makes for an excellent treatment specifically targeted towards thinning hair. To prepare this nourishing mask, follow these steps:
Ingredients
- ½ avocado
- 1 egg
- 1 tablespoon of coconut oil
- ½ teaspoon of honey
Directions
- Thoroughly mix all the ingredients together until they are well-combined.
- Apply the mixture to your hair and scalp, ensuring even distribution. Massage it gently for better absorption.
- Allow the mask to sit on your hair for a minimum of 30 minutes to maximize its effects.
- Rinse out the mask completely, then proceed with your regular shampooing and conditioning routine.
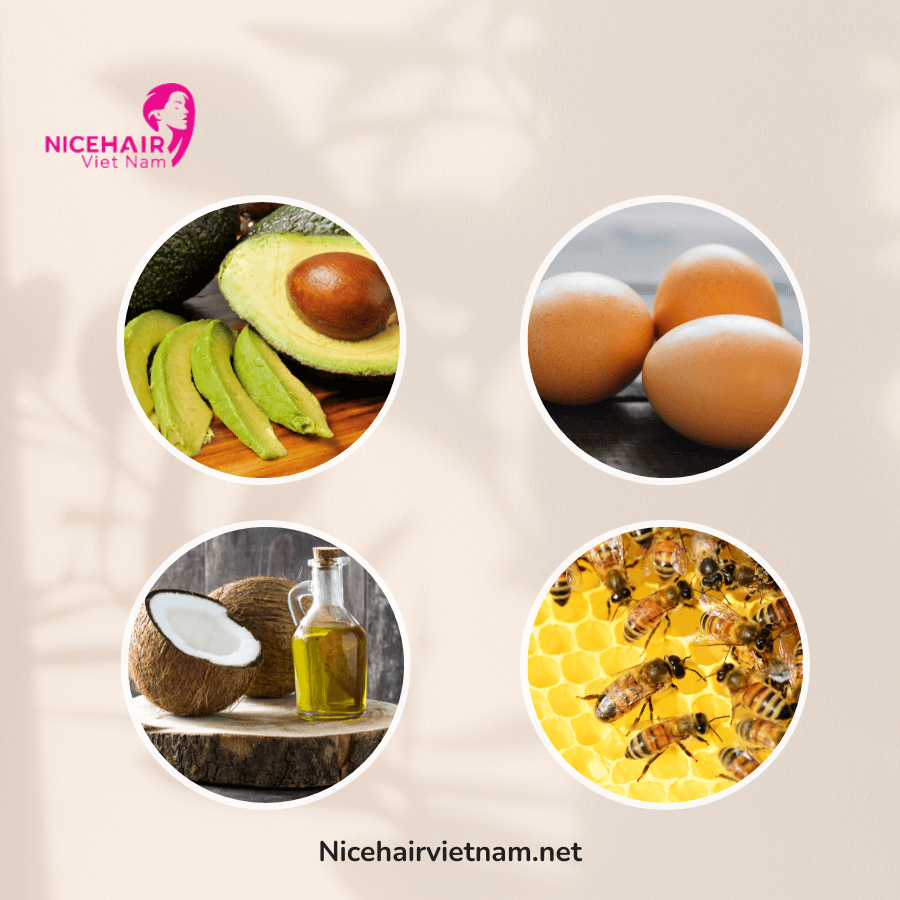
This particular mask is highly beneficial for addressing the concerns of thinning hair. The combination of ingredients works together to combat hair loss by providing essential nourishment, particularly protein, which is often lacking in our diets.
Avocado offers vital nutrients and healthy fats that contribute to overall hair health and thickness. The egg, rich in protein, provides the hair with much-needed nourishment. Coconut oil serves as a moisturizing agent, preventing dryness and strengthening the hair strands. Lastly, honey adds a touch of natural sweetness while also offering additional moisture and nutrients.
By incorporating this mask into your hair care routine, you can provide your hair with the necessary protein nourishment it requires, which can play a significant role in addressing thinning hair concerns.
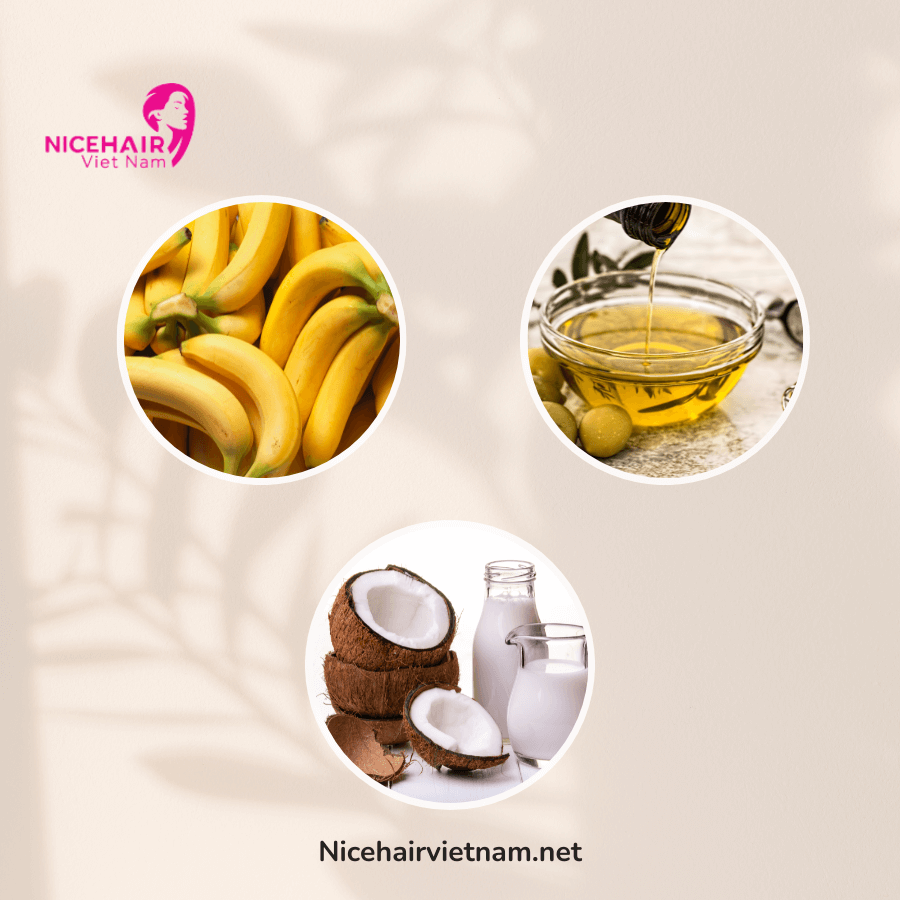
Banana, olive oil, coconut milk
A combination of banana, olive oil, and coconut milk creates an ideal remedy for providing a much-needed moisture boost to your hair. Follow these steps to prepare and apply the mask:
Ingredients
- 1 ripe banana
- 2 teaspoons of olive oil
- 2 teaspoons of coconut milk
Directions
- Blend the banana thoroughly until you achieve a smooth and lump-free consistency.
- Slowly add the olive oil to the blended banana while continuing to blend.
- Next, incorporate the coconut milk into the mixture, blending until all ingredients are well combined.
To enhance the effectiveness of the mask, particularly for those with low porosity hair (a hair texture that resists water absorption), consider using a heat cap or steamer. This will allow the mixture to deeply penetrate the hair strands.
This moisture-boosting mask harnesses the power of its key ingredients. The ripe banana, known for its high moisture content, helps hydrate and soften the hair. Olive oil provides nourishment and acts as a sealant, preventing moisture loss. Coconut milk, rich in vitamins and minerals, further enhances hydration and promotes overall hair health.
By incorporating this mask into your hair care routine, you can replenish and revitalize your hair with a surge of moisture. It is particularly beneficial for those seeking to combat dryness, frizz, and lackluster hair.
More: Purple vs. Blue shampoo: choose the right shampoo for hair color
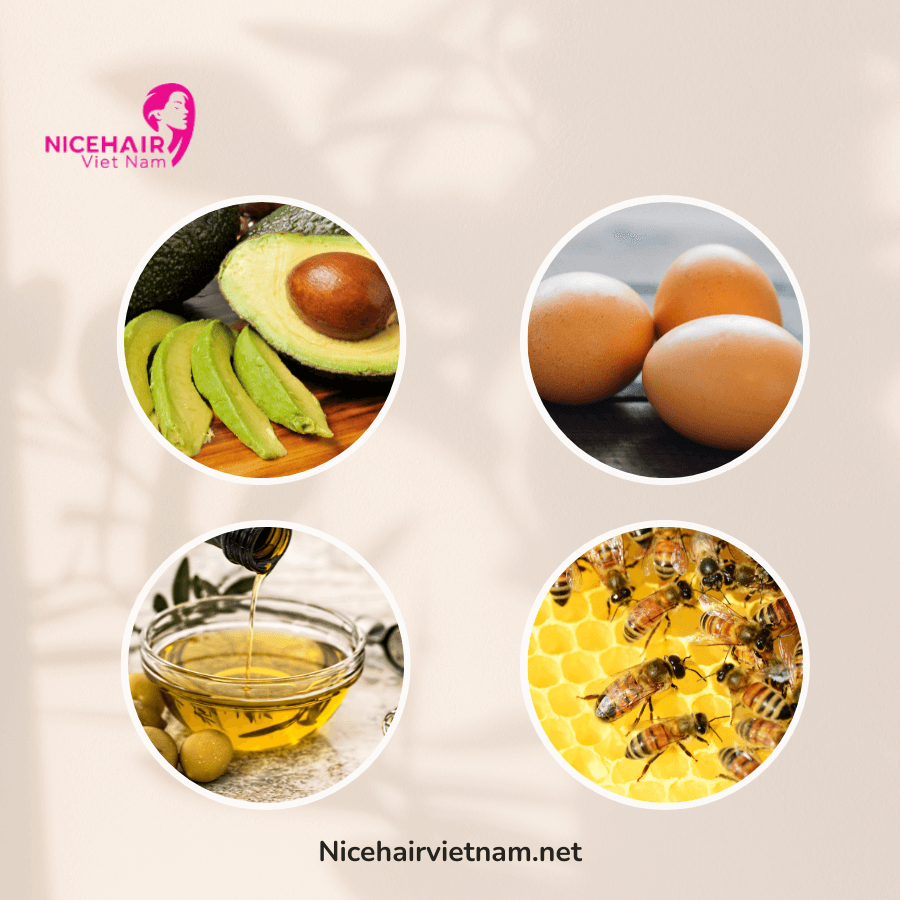
Avocado, egg, honey, olive oil
A mixture of avocado, egg, honey, and olive oil is a highly effective remedy for repairing damaged hair. Follow these steps to prepare and apply the mask:
Ingredients
- ½ avocado
- 1 egg
- 1 tablespoon of olive oil
- 1 tablespoon of honey
Directions
- Mash all the ingredients together using a fork until a smooth consistency is achieved.
- Apply the mixture to dry hair, starting from the ends and gradually working your way up towards the roots.
- After applying the mask, gather your hair and secure it by rolling it up. You can then cover your hair with a shower cap or wrap it in a towel.
- Allow the mask to work its magic for up to one hour, allowing the nourishing ingredients to deeply penetrate your hair.
- Rinse your hair with warm water to remove the mask, and follow up with shampooing as usual.
This mask is especially beneficial for those seeking to repair damaged hair. Hair is primarily composed of protein, and this mask provides a rich source of nourishing protein to replenish and strengthen the hair strands. Additionally, the hydrating oils present in the mask, such as olive oil, combined with the honey, contribute to deep hydration, leaving your hair feeling silky and soft.
By incorporating this mask into your hair care routine, you can effectively repair and rejuvenate damaged hair. The nourishing properties of the ingredients work synergistically to restore vitality, hydration, and resilience to your locks.
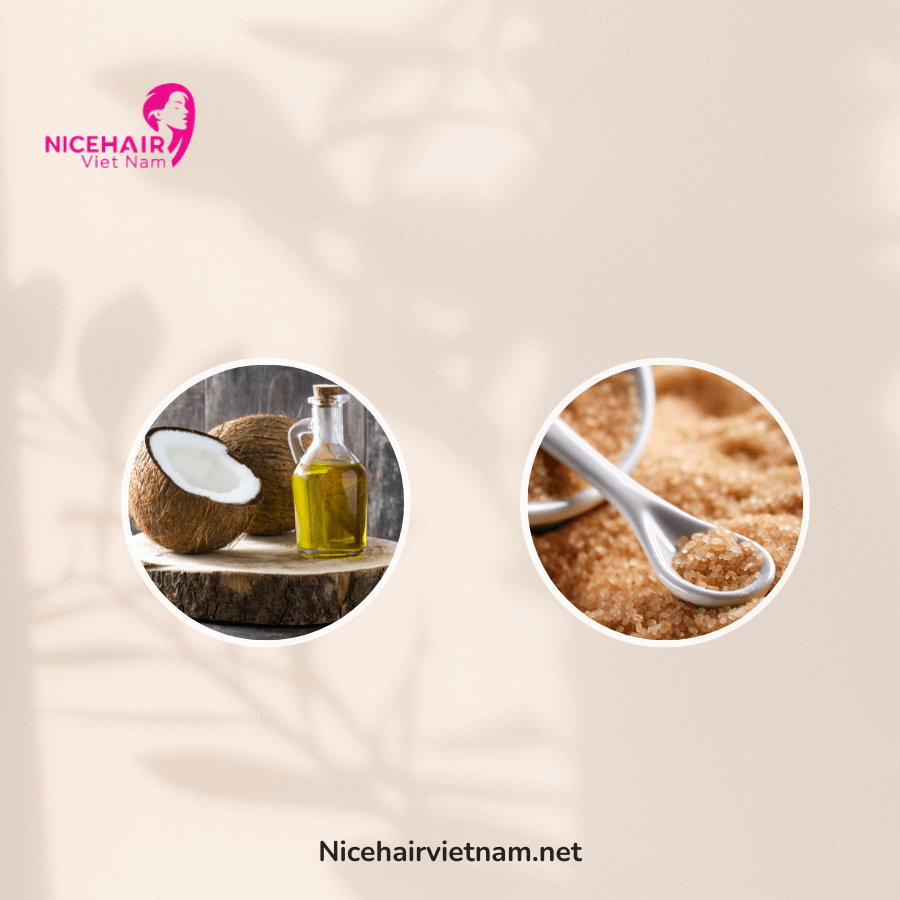
Coconut oil and brown sugar
A combination of coconut oil and brown sugar creates an excellent treatment for nourishing your scalp. Follow these steps to prepare and apply the mixture:
Ingredients
- 2 tablespoons of melted, unrefined coconut oil
- 2 drops of peppermint essential oil (or your preferred essential oil)
- 2 drops of tea tree oil
- 2 tablespoons of brown sugar
- 2 tablespoons of your favorite hair conditioner
Directions
- In a small bowl, thoroughly mix the melted coconut oil, your chosen essential oil, and tea tree oil.
- In another bowl, combine the brown sugar with your preferred hair conditioner.
- Part your hair into sections and apply the oil mixture to slightly damp hair, starting from the scalp and working your way to the ends.
- Take the brown sugar and hair conditioner mixture and gently massage it into your scalp, avoiding harsh scrubbing.
- Leave the mixture in your hair for approximately one hour.
- Rinse your hair with lukewarm water, followed by shampooing as usual.
This treatment is particularly beneficial for nourishing your scalp and improving the condition of your hair. It replenishes moisture and protein lost due to various factors such as hair coloring, blow-drying, and exposure to weather elements. The treatment is suitable for all hair types, but it is especially beneficial for dry or itchy scalps, as well as damaged or brittle hair.
By incorporating this mixture into your hair care routine, you can provide essential hydration and nourishment to your scalp and hair. The coconut oil helps replenish moisture, while the brown sugar gently exfoliates the scalp, promoting healthier hair growth. Additionally, the combination of essential oils adds a refreshing aroma and provides additional benefits based on your chosen oil.
Regular use of this treatment can help improve the overall condition of your hair and scalp, making it an effective solution for those seeking to address dryness, itchiness, and damaged hair.
Precautions when using hair masks
When using a DIY hair mask, it’s important to take certain precautions to ensure safety and maximize the benefits. Here are some precautions to keep in mind:
Patch test
Performing a patch test is a crucial precaution to take before applying a DIY hair mask to your entire scalp or hair. This test involves applying a small amount of the prepared mixture to a small patch of skin, typically on your inner arm or behind your ear. Leave it on for the recommended time specified in the recipe, usually around 24 to 48 hours, and observe for any adverse reactions.
Patch testing is especially important if you have known allergies or sensitivities to certain ingredients. It helps identify potential allergic reactions, irritation, or skin sensitivities before applying the mask to your entire scalp or hair. Allergic reactions can manifest as redness, itching, swelling, or a rash.
To conduct a patch test, follow these steps:
- Select a small, discreet area of skin to test, preferably on your inner arm or behind your ear.
- Cleanse and dry the area of skin before applying a small amount of the DIY hair mask mixture.
- Allow the mixture to dry on the skin and leave it undisturbed for the recommended time.
- During the testing period, avoid scratching, rubbing, or washing the patch of skin to obtain accurate results.
- After the designated time has passed, observe the tested area for any signs of irritation, redness, swelling, itching, or other adverse reactions.
If you experience any discomfort, irritation, or adverse reactions during the patch test, do not proceed with applying the DIY hair mask to your scalp or hair. It’s important to note that even if the patch test is successful, it doesn’t guarantee that you won’t have a reaction when applying the mask to a larger area. Use caution and discontinue use if you experience any unexpected or severe reactions.
Ingredient compatibility
It is crucial to thoroughly research and understand the compatibility of the ingredients you intend to use in your DIY hair mask. Not all ingredients work harmoniously together, and certain combinations may result in adverse effects or undesired outcomes. By familiarizing yourself with the properties and interactions of the ingredients, you can ensure the safety and effectiveness of your DIY hair mask.
To ensure ingredient compatibility:
- Conduct thorough research: Before formulating your DIY hair mask, take the time to research each ingredient individually. Understand their properties, benefits, potential side effects, and any known contraindications. This knowledge will help you make informed decisions when combining ingredients.
- Follow trusted recipes and guidelines: Utilize reputable sources, such as trusted beauty websites, books, or expert advice, to find well-tested and reliable recipes for DIY hair masks. These sources often provide detailed instructions, ingredient proportions, and explanations of why certain ingredients work well together.
- Consider ingredient interactions: Some ingredients may have specific interactions or reactions when combined. For example, acidic ingredients like lemon juice may react with certain oils or proteins. Understanding these interactions will help you avoid any unwanted chemical reactions or compromised efficacy of the mask.
- Personalize based on your hair type and needs: Consider your hair type, concerns, and goals when selecting ingredients for your DIY hair mask. Some ingredients may be more suitable for specific hair types, such as dry or oily hair. Tailor the mask formulation accordingly to maximize its benefits for your particular needs.
- Patch test and observe: Even when using compatible ingredients, it is advisable to conduct a patch test, as mentioned earlier, to ensure that your skin and scalp react positively to the mixture. This step can help identify any unexpected sensitivities or reactions before applying the mask to your entire hair and scalp.
By taking the time to understand ingredient compatibility and following trusted recipes and guidelines, you can create a DIY hair mask that is both safe and effective. This knowledge allows you to make informed choices and avoid any potential adverse effects, ensuring that your DIY hair mask delivers the desired results for healthy and beautiful hair.
Quality and freshness
Using fresh and high-quality ingredients is of utmost importance when preparing your DIY hair mask. By opting for fresh ingredients, you can ensure that the mask retains its potency and provides maximum benefits for your hair. Additionally, high-quality ingredients are less likely to contain contaminants or impurities that could potentially harm your scalp or hair.
Consider the following points regarding ingredient quality and freshness:
- Choose fresh produce: When selecting fruits or vegetables for your DIY hair mask, opt for fresh and ripe ones. Fresh ingredients contain higher levels of nutrients and active compounds that contribute to the effectiveness of the mask. Avoid using overripe or spoiled ingredients, as they may not deliver the desired results and could potentially harbor bacteria or mold.
- Select reputable brands: When using oils, conditioners, or other store-bought ingredients, opt for reputable brands known for their quality. These products are more likely to undergo rigorous testing and quality control measures, ensuring that they are safe and free from harmful contaminants.
- Store ingredients properly: Proper storage plays a vital role in maintaining ingredient freshness. Follow storage instructions provided for each ingredient, whether it’s keeping fruits and vegetables refrigerated or storing oils in cool, dark places. Be mindful of expiration dates and use ingredients before they expire to ensure maximum efficacy.
- Avoid cross-contamination: Maintain good hygiene practices throughout the preparation process. Use clean utensils, bowls, and equipment when handling ingredients. Prevent cross-contamination by keeping raw ingredients separate from each other and avoiding contact between the mask mixture and any unclean surfaces.
By using fresh and high-quality ingredients, you can ensure that your DIY hair mask is potent, safe, and effective. Fresh ingredients provide a higher concentration of beneficial compounds, enhancing the mask’s nourishing and revitalizing properties. Additionally, using quality ingredients minimizes the risk of contamination or spoilage, safeguarding the health of your scalp and hair.
Remember to check the quality and freshness of each ingredient before incorporating it into your DIY hair mask. It’s worth investing in the best ingredients possible to reap the maximum benefits and achieve optimal results for your hair care routine.
Allergies and sensitivities
It is crucial to be mindful of any known allergies or sensitivities you may have to specific ingredients when preparing and using a DIY hair mask. Allergic reactions can range from mild irritation to severe symptoms that require immediate medical attention. To ensure the safety and well-being of your hair and skin, consider the following points regarding allergies and sensitivities:
- Know your allergies: If you are aware of any allergies you have, such as allergies to certain foods, plants, or substances, carefully review the ingredients of your DIY hair mask. Avoid using ingredients that may trigger an allergic reaction. Common allergens include nuts, dairy, eggs, wheat, and certain essential oils. If in doubt, consult with a dermatologist or allergist to identify potential allergens and seek guidance on safe alternatives.
- Perform a patch test: Even if you do not have known allergies, it is always prudent to conduct a patch test before applying the DIY hair mask to your entire scalp or hair. Apply a small amount of the prepared mixture to a small area of skin, typically on your inner arm or behind your ear. Observe the patch for any adverse reactions, such as redness, itching, swelling, or rash. If any reaction occurs, discontinue use immediately and seek medical advice.
- Seek professional advice: If you are unsure about the potential effects of a specific ingredient on your hair or skin, it is recommended to consult a dermatologist or hair care professional. They can provide expert guidance based on your individual circumstances, including any pre-existing conditions or sensitivities.
- Educate yourself: Take the time to research and educate yourself about the ingredients you plan to use. Understand their properties, potential side effects, and interactions. Reliable sources such as scientific studies, reputable websites, and professional publications can provide valuable information regarding ingredient safety and compatibility.
By being proactive and attentive to allergies and sensitivities, you can mitigate the risk of adverse reactions and ensure a safe and enjoyable DIY hair mask experience. Prioritize your health and well-being by seeking professional advice when needed and staying informed about the ingredients you choose to incorporate into your hair care routine.
Summary
This guide introduces 5 do-it-yourself (DIY) hair masks that can help you achieve healthy and lustrous hair. These homemade remedies are designed to nourish, repair, hydrate, and revitalize your hair, providing transformative results. By exploring the recipes, techniques, and benefits of each hair mask, you can say goodbye to dull and lifeless hair and embrace a vibrant and radiant mane. From natural ingredients like avocado and coconut oil to essential oils and honey, these DIY hair masks offer a personalized and indulgent approach to hair care. Unlock the potential of your hair and experience the joy of self-care with these rejuvenating DIY hair masks.